Build a Portable Snack Kit for Work and Travel
Why a snack kit helps you stay on track
Between a morning meeting and an afternoon deadline, hunger can hit hard. When you are on the road or sitting at a desk, the easiest option is often a vending machine or a convenience-store pastry. A portable snack kit solves that problem before it starts. You pack a small assortment of shelf-stable items that travel well, fit in a backpack or a desk drawer, and give you real energy without a sugar crash. The goal is to have something satisfying on hand so you do not have to rely on whatever is available at a rest stop or a break room.
What to look for in travel-friendly snacks
Not every snack works in a bag or a lunch bag. You want items that stay intact at room temperature, do not melt or crumble easily, and come in packaging that will not leak. Portion control matters too. A single-serving pack keeps you from eating more than you planned. Shelf stability is another factor. You may pack the kit on Sunday and not open it until Friday, so anything that requires refrigeration is out. Think in terms of things that can sit in a backpack for a week without losing texture or flavor.
Step 1: Choose a sturdy container
Start with a container that fits your routine. A small insulated lunch bag works well for a road trip, while a zippered pouch or a hard-sided box suits a desk drawer. The container should be easy to open and close, and it should protect the contents from being crushed. Look for something with a simple closure, like a zipper or a latch, so you can get into it quickly when you are hungry. Avoid anything too bulky. The whole kit should slip into the space you normally carry.
Step 2: Pick a main snack that satisfies
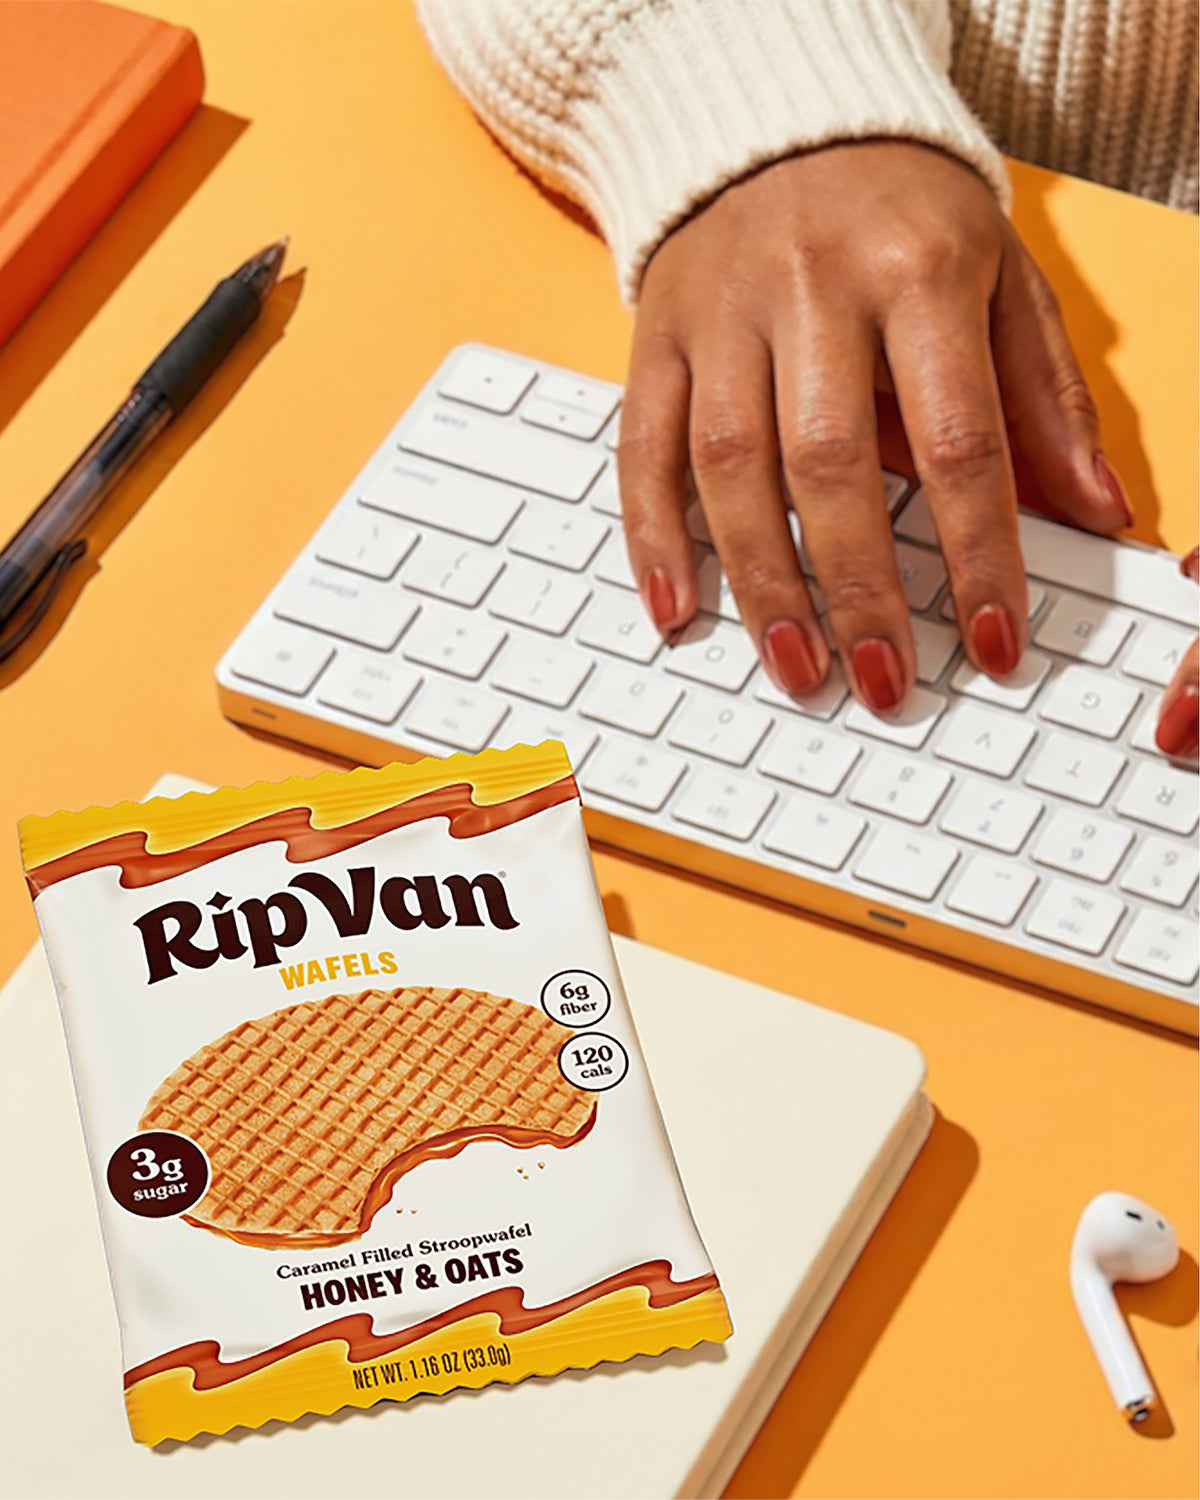
The centerpiece of your kit should be something with enough substance to bridge a gap between meals. This is where on the go wafer snacks come in. They are light, portable, and tend to hold up well in a bag. A filled wafer, for example, gives you a chewy center and a crisp outer layer without needing refrigeration. You can eat one or two and feel full for a while. Look for options that are individually wrapped or that come in a resealable package. That way you can take a single serving and save the rest for later.
One option that fits this category well is portable stroopwafels. These Dutch-style wafers have a thin, crisp shell and a soft filling that stays pliable at room temperature. They travel without breaking and do not leave crumbs all over your bag. A single wafer can be tucked into a corner of your lunch bag or slipped into a pocket. If you are someone who gets hungry between breakfast and lunch, having one of these on hand keeps you from reaching for something less satisfying.
Step 3: Add a protein boost
A wafer snack covers carbohydrates and a bit of sweetness, but protein helps you stay full longer. Add a small pack of nuts, a single-serve nut butter packet, or a bag of roasted chickpeas. Portion control is key here. A handful of almonds or a tablespoon of peanut butter with your wafer turns a quick bite into a mini-meal. Watch out for packaging that is hard to open on the go. A tear-top pouch or a screw-top container is easier than something that requires scissors.
Step 4: Include something crunchy or savory
Variety keeps a snack kit interesting. If your main item is sweet, add a savory element like rice crackers, seaweed snacks, or a small bag of popcorn. The contrast in texture and flavor makes the kit feel more like a real break and less like a sugar hit. Just check the packaging for durability. Thin crackers can break inside a backpack, so look for something that comes in a sturdy sleeve or a tray. If you prefer a crunchy vegetable option, consider a single-serve pack of snap peas or a small container of cherry tomatoes, but only if you plan to eat them within a day or two. For longer trips, shelf-stable crackers are a safer bet.
Step 5: Pack a drink companion
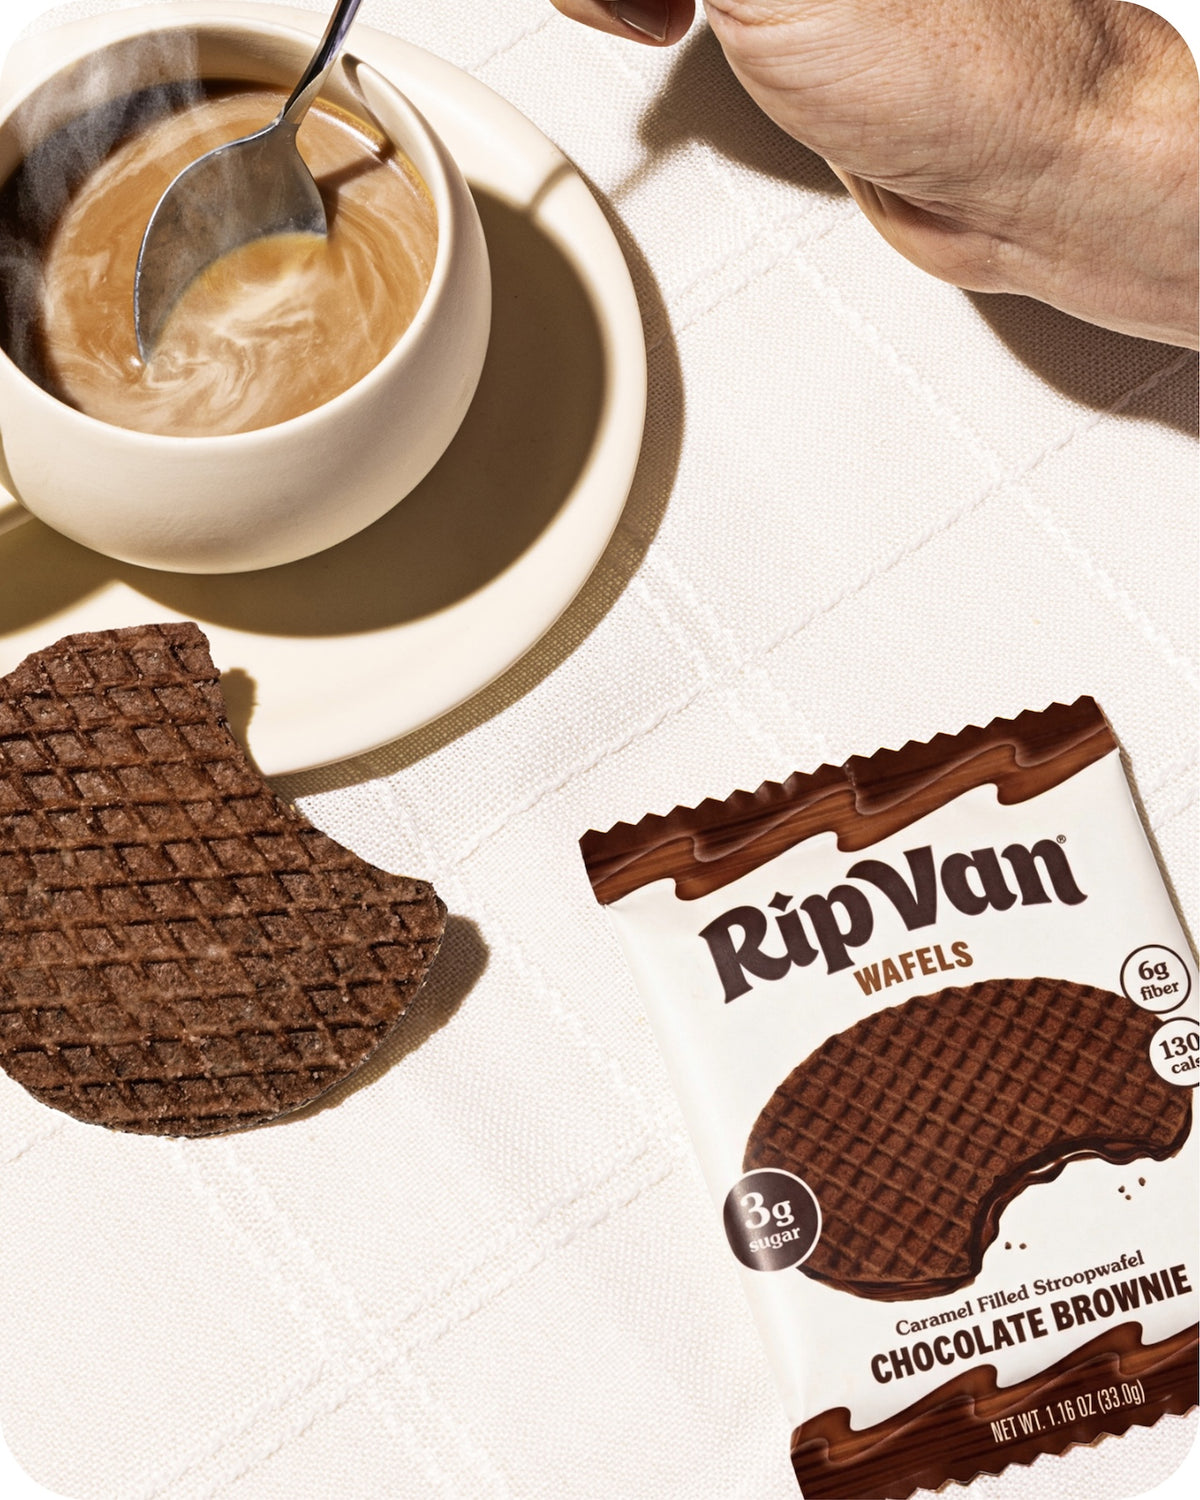
A dry snack can leave you wanting something to wash it down. A small tea bag, an instant coffee stick, or a powdered electrolyte packet takes up almost no space. If you have access to hot water at work or at a rest stop, you can turn a simple wafer into a proper break. For cold drinks, a single-serve flavor packet that mixes into a water bottle works well. The key is to keep the drink separate from the food. A damp tea bag can ruin crackers or wafers, so store liquids and powders in a dry compartment or a small zip-top bag.
Step 6: Assemble and store
Once you have your container and your items, pack them in a way that keeps everything accessible. Put heavier items at the bottom and lighter, fragile ones on top. If you are using a lunch bag, a small divider or a cloth napkin can stop things from shifting. Store the kit in a cool, dry place. A desk drawer, a car glove compartment, or a backpack side pocket all work as long as the temperature stays moderate. Extreme heat can ruin chocolate-based fillings, and extreme cold can make some wafers brittle.
What to watch for
The biggest challenge with a portable snack kit is keeping it fresh. Rotate the contents every couple of weeks. If you include items with a short shelf life, like fresh fruit or yogurt, eat those within the first day. For longer trips, stick with items that are sealed and shelf-stable. Another thing to watch is portion creep. It is easy to eat two or three servings when you are really hungry, so stick with single-serve packs or pre-portion your own. If you find yourself finishing the entire kit in one afternoon, scale back the quantity or add more protein to help you feel satisfied with less.
Portable stroopwafels are a good example of a snack that keeps well and delivers a balanced bite. They are not the only option, but they show what to look for: something that travels without fuss, tastes good at room temperature, and gives you enough energy to get to your next meal. When you build your own kit, think about your own schedule. A person who works a desk job might want a different mix than someone who spends the day on their feet. Adjust the size, the variety, and the packaging to fit your day.

Making it a habit
The real value of a snack kit is not the container or the specific brands. It is the habit of preparing ahead. Once you have a system in place, you stop thinking about where your next snack will come from. You just reach into your bag. That saves time, money, and the frustration of eating something that does not really hit the spot. Start small. Pick a container, add two or three items, and see how it works for a week. Adjust from there. Over time, you will find a combination that feels right for your routine.